Revit BlogA place for Revit updates, Revit news, and Revit information. Archives
March 2016
Categories
All

|
3/15/2016 We need your help!ATLAS the tiny house we built is up for an AWARD!!!!! Help us by casting your vote for us at: http://awards.architizer.com/public/voting/?cid=50 Atlas was a invented in order to answer one critical question: How can a mobile structure create a habitat that blends the experience of the environment, with the power of the environment.
We have designed and built a new breed of RV / Tiny House. This crossover utilizes natural resources, and minimizing dependence on the grid by: collecting rain water, using solar power, and passive cooling and heating the space. The living space is expanded outdoors by a fold down deck and a fold up shade awning, that fits sleekly in the frame. Retractable legs are lowered to land softly on the ground. The wall revealed behind the protective transformational deck/awning is entirely glass. The windows in this wall open up to the kitchen and create a bar for serving food and drinks on the interior and exterior. The angle of the deck creates the largest footprint near the entrance utilizing the largest hinge space. The awning shape angles inversely to the slope of the roof providing shade over the bar and the highest portion of glass. On the interior a full stairs is used instead of a ship ladder traditionally seen in small spaces. Under the stairs storage space glides out keeping in line with the transformer idea of the whole project. A fold down sofa adds an additional capacity to the sleeping arrangements, and the loft hangs from the hidden steel structure floating above the kitchen. This design crosses simplicity of materials, using mainly glass, metal, and wood, with sophisticated spacial use. It is a house that transforms from a sleek concealed travailing trailer, to an open inviting space that embraces nature both inside and out."
0 Comments
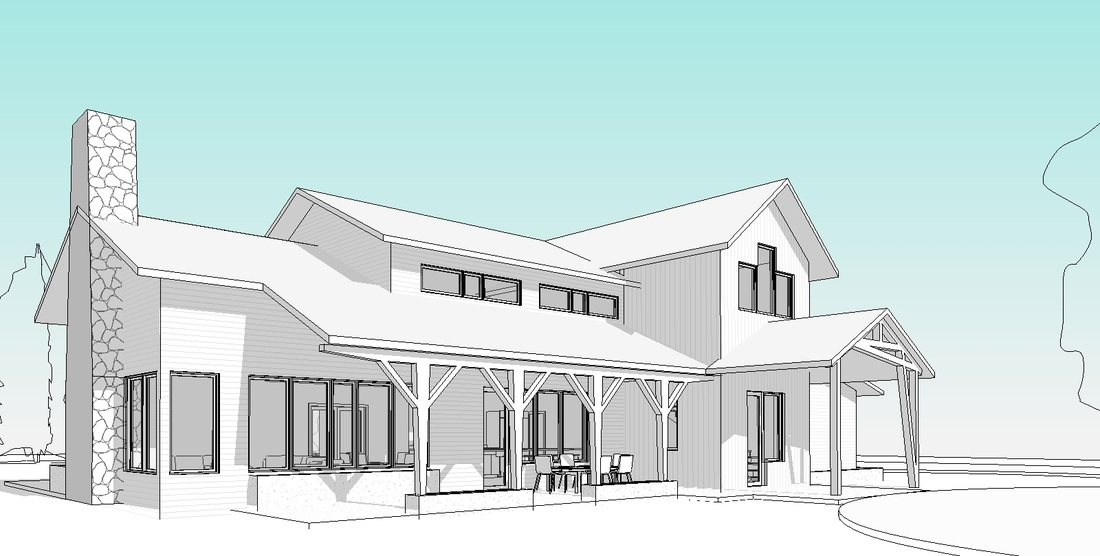
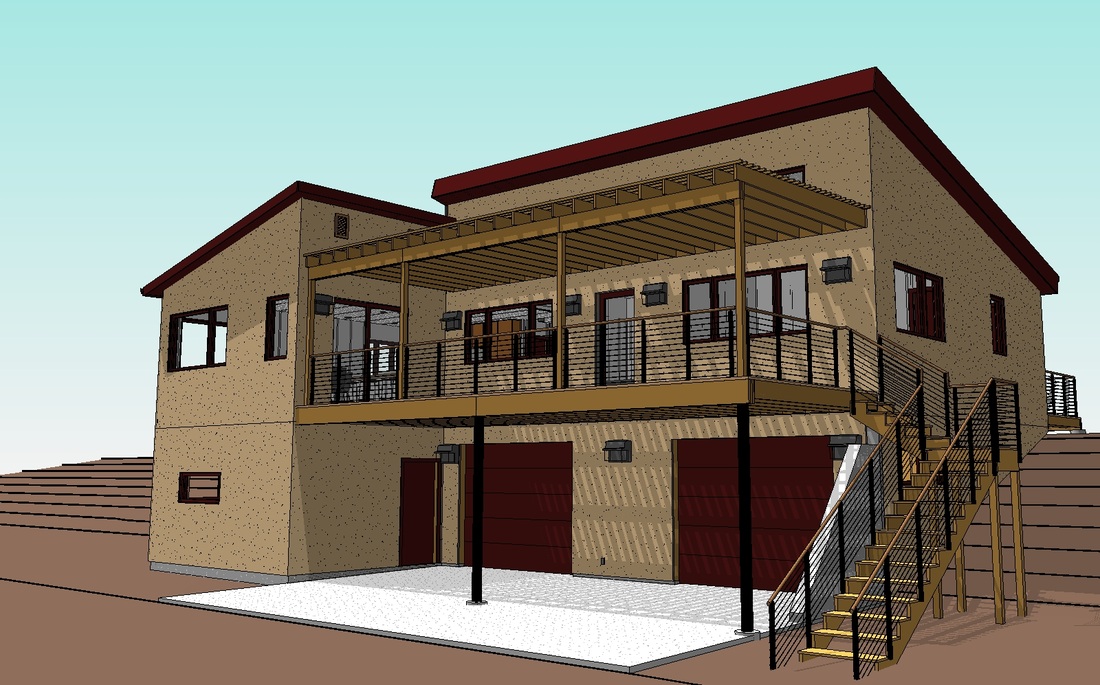
12/12/2014 Student WorkSome of you might be aware that Lance and myself teach at the University of Colorado in Boulder. Our students use the template and files from this site, and they just finished their final project. We are amazed at their work and wanted to share it with you. 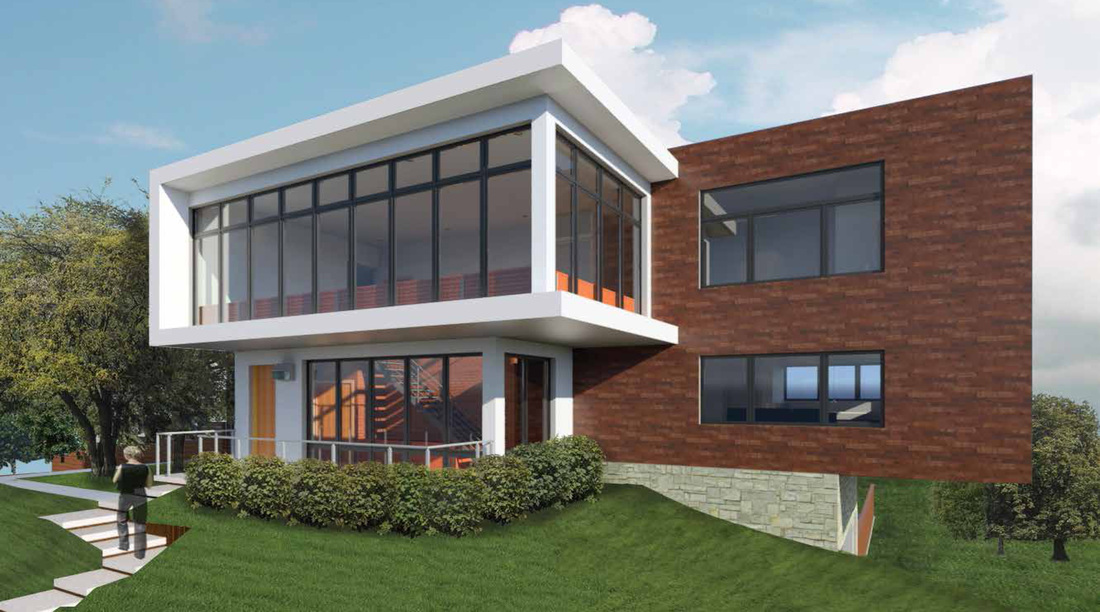 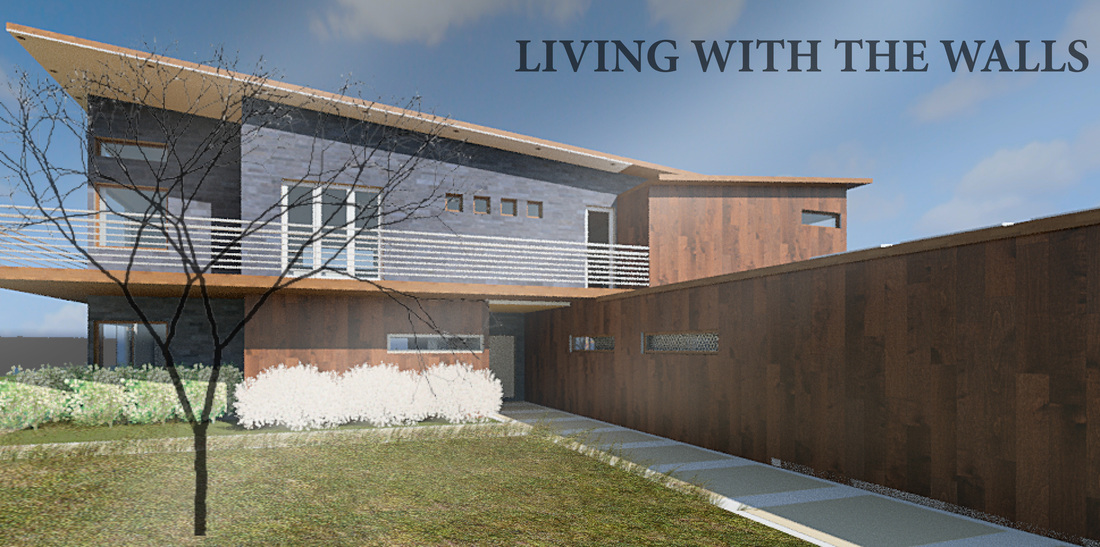 CLICK the READ MORE here or below to see more of the work, and some interior renderings!
12/24/2013 How to make Revit Lights Glow?If you have been playing around with interior renderings in Revit and want a tip on how to make the defult revit light glow, check out the Revit Kid's latest video: "Revit Tutorial Show Lights Turned On in Renderings" 11/14/2013 DESIGN A HOUSE IN REVIT IN A COUPLE OF HOURSIf you are every stuck on how to start a project in Revit and want to learn how to quickly create a presentation set. Check out our: DESIGN A HOUSE IN REVIT IN A COUPLE OF HOURS page. There you can find video tutorial on the topics listed below. UNDERSTANDING THE BASICS OF HOW WE BUILD AT F9 - AN INTRODUCTION Here we give you the quick and dirty on how we build our models in Revit. We explore the two part wall system, What does "T.O." mean? Why does it look like we have too many levels? and even more as listed below.
DESIGNING USING MASSES
REVIT FLOORS, FOUNDATIONS, ROOFS, TOPOGRAPHY AND MORE!
REVIT WINDOWS, WALLS AND CORRECTIONS
DOORS, LEVELS, MATERIALS
CREATING IN-PLACE FAMILY, VOIDS, AND 3D CAMERA VIEWS
FINISHING A SCHEMATIC DESIGN SET
Let me know what you think, feel free to email me at: [email protected] 9/20/2013 New Revit FamiliesIt took awhile but we have finally added around 300 more Revit Families! There is a whole bunch of new stuff and in this latest update we have seen: 1) A new header image. Take a look at our home page and families page to see the newly created image. 2) The redesign and addition of Revit content.
3) A redesign of the resources page. We have even more lined up: 1) We want to greatly expand on the resources page and go into more depth on those useful resources. 2) We are planning a massive post on the process of completing a whole set in Revit, from start to finish. Stay tuned and fill out the form below to stay updated: What is the difference between our templates and the templates you get from Revit out of the box. Watch this short video and see some of the differences that will save you time, and help you be more productive. You might be wondering why are we selling Revit Templates. Well from time to time I work with larger Architectural companies and give them a little more horse power when they need it. One time I was asked to come in at the end of a project and help wrap it up. I thought this would be an easy little project. But because they didn't even have standard views at correct scales, there were no sheets set up, and they didn't have standard components our fee was twice what it should have been. Now I know that firms all have their different standards, so what use can this template be? First there is ton of content. You will see some of it in the video and more in the images below. We have loaded the most used content that our firm uses so that you will be ready to go right from the gates. There is no searching around the internet for inconstant content, get everything you need here on this site. Second, our sheets, and views are set up at the right scale and ready to plug-in and play. Finally, components are set up the way they would be constructed in the field. This will help with creating your construction documents. Main Benefits:
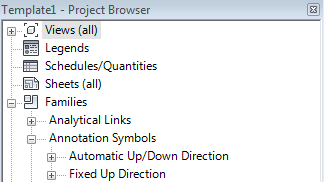
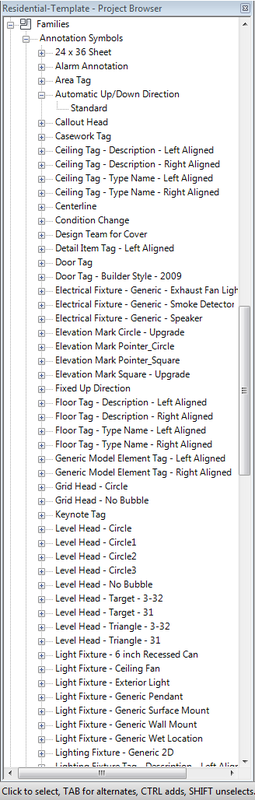
One thing I missed in the video is showing how many annotation symbols and other families we have that are not under the drop down component button. Take a look at one example, the annotation symbols.
If you would like to see our templates click here. If you would like to see our furniture click here. Lastly, please if you enjoyed this post:
Please LIKE / TWEET on Facebook or Twitter! and leave a comment below and let us know what you think! 8/28/2013 NEW REVIT TEMPLATE TOOLSAre you sick of setting up and coordinating your phase filter with your phase. These options can beconfusing: Show all, Show Complete, Show Demo + New, Show New, Show Previous + Demo, Show Previous + New, and Show Previous Phase. You know you need an existing phase to put in the existing conditions. Then you need a demolition view to show what you will be demolishing, and then finally you can start on your new design! If you are in the beginning stages there might be a lot of dimensions, and tags that you don't need to show your clients. Because of this we have also made a Presentation view. All of this work and set-up has been done for you! We now have:
Views ready to go for each level! 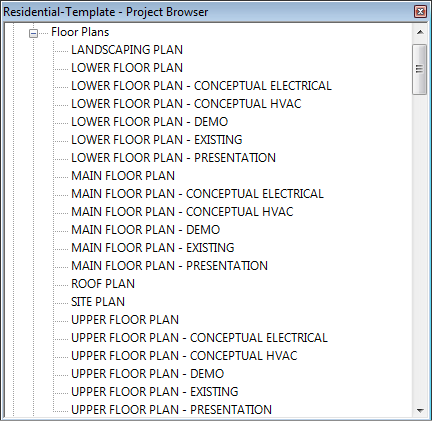
we has also added: Good Looking Revit ViewsTake a look at the standard Revit Gradient Views vs. the ones that come in our template.
Click here to view our template! Lastly, please if you enjoyed this post:
Please LIKE / TWEET on Facebook or Twitter! and leave a comment below and let us know what you think! Last night after work I decide to put together a little video on how to get started in Revit. In this video we work with our template, but if you have your own this video should also help out. In this tutorial I cover:
I was prodded by one of the purchasers of our templates to make this video and I am glad that I did. But this is my first video and I feel it is really rough, so feel free to leave feedback. Did you like it or hate it, did it help, where could I improve., ect..? You can find Revit Templates by clicking here. Lastly, please if you enjoyed this post:
Please LIKE / TWEET on Facebook or Twitter! and leave a comment below and let us know what you think! I am often looking though recent graduates portfolios and I find myself looking at their techniques and design skills, but most importantly I am looking for is their Revit design skills. One of the first things I see that lets me know this person is a novice, is when they use the out of box Autodesk Revit title blocks for their project. The title block looks like this below: 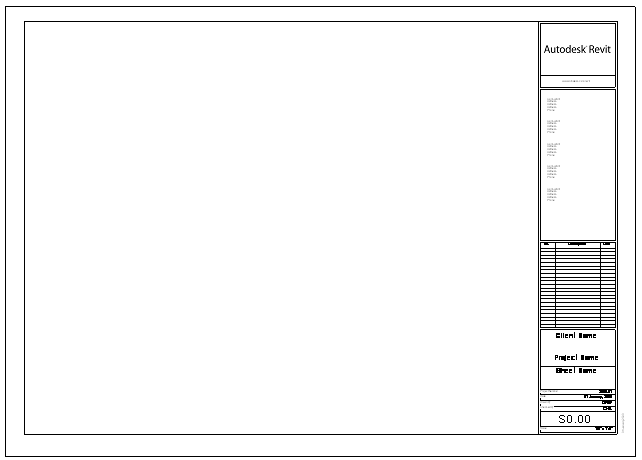 Whether you are presenting yourself professionally or as a student you want to look as put together as possible, and the out of the box Revit Title block does not do this. The first step when you start your first Revit project is to scroll down to one of your sheets, click on the title blocks and then click the Edit Family button on the top of your screen. Then proceed to changing your template to your suiting. Take this a design problem and make your title block your own. After you are done with all of your changes, load your title block back into your project and you are ready to go! I will be teaching at the University of Colorado this year, and everyone of my students will be doing this exercise. 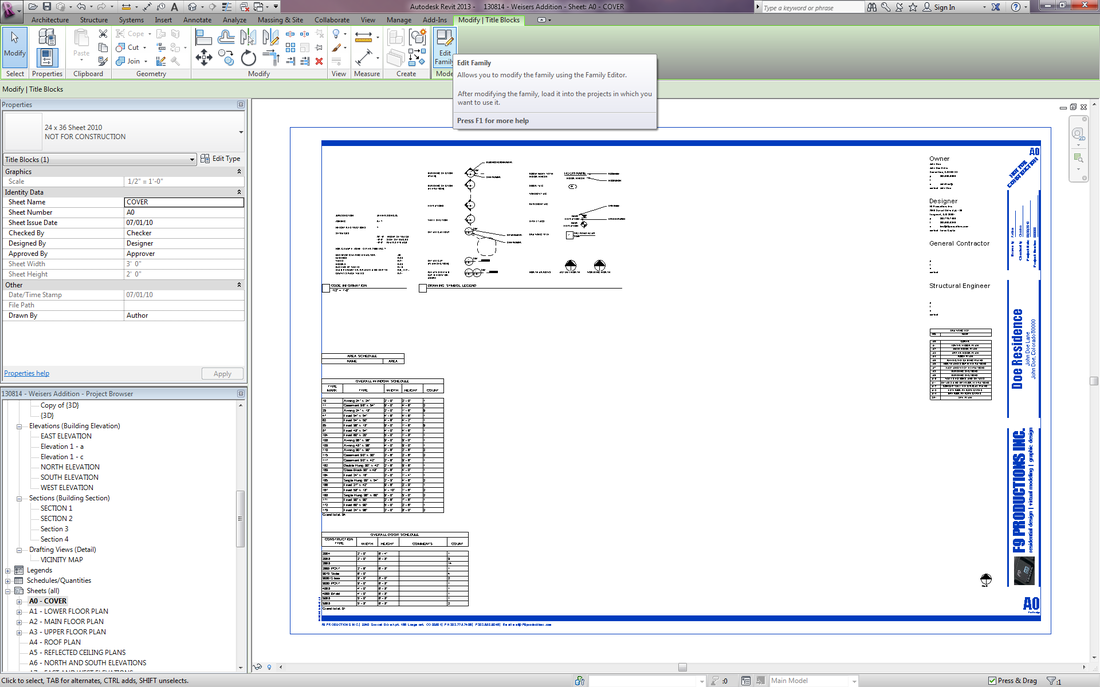 Here are some things to consider: · Create a logo for yourself, a company name, and add your contact information. · Have your client's name, address, and even contact information. · Include project information such as, Author, Checker, Project Date, and project number. · Add your webpage link Take a look at some of the examples below, and read this article and the comments on title blocks, by Neal Pann: http://naparchitect.com/blog/2013/8/5/title-blocks Diving even further, the Revit Kid, has created a tutorial for editing Title Blocks. It is embedded here for your convince. Take a look: Here are some useful links: Autodesk Title Block Help : http://wikihelp.autodesk.com/Revit/enu/2013/Help/00001-Revit_He0/1468-Document1468/1926-Prepare_1926/1956-Title_Bl1956 Downloadable Title Blocks : http://www.cadblocksfree.com/index.php?id=78 Thanks for reading. Please comment or share any cool examples of title blocks you have found. Lastly, please if you enjoyed this post: Please LIKE / TWEET on Facebook or Twitter! and leave a comment below and let us know what you think! Have a good day,
- Alex  Hello! As most of you realize using templates can help improve your speed and efficiency, thus making your projects more profitable. Without templates you are more likely to be inefficient, redo things you have all ready done, and likely spend more time on a project than you have to. At F9 Productions we have created a Residential Revit Template for the use of our firm. We have offered other files for you to download on our "What is Revit" page. But at last it is time to update, improve, and create an even more efficient template. Over the years we have gained knowledge of our clients needs and expectation. We know what we can do faster, where we are wasting time, and what sort of things we can do to add value for our clients. We are already deep in process of updating our residential template and I have already started on this small list of changes that need to be made:
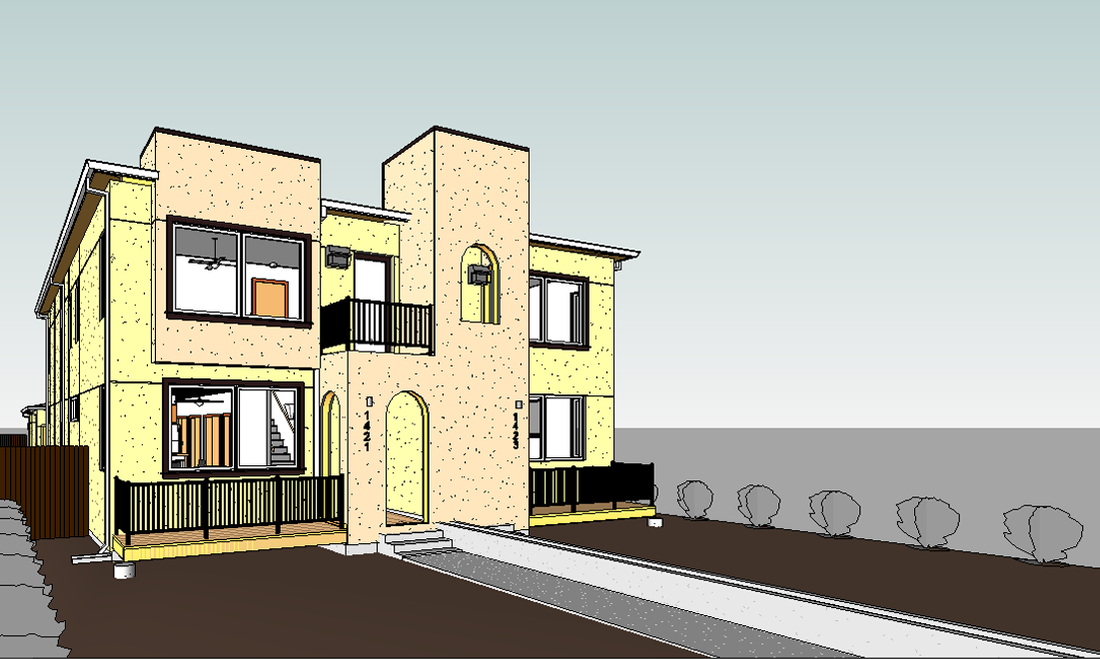
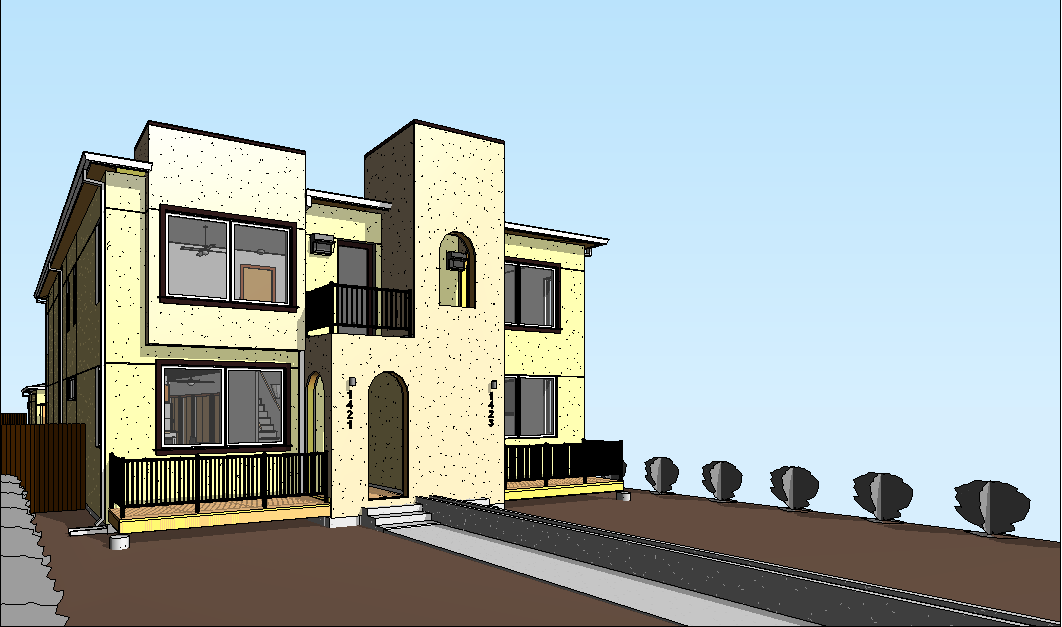
After getting these completed, I am thinking about perfecting my 3D view so that each and ever exterior shot, looks like this:
Also I want to change our sheet numbering system, currently are sheets are numbered A1, A2, A3... S1, S2.. ect. but I am going to change the number system from A1 to A1.0 that way if normally page A7 is sections and I need another page for even more sections I can easily insert A7.1 right after A7.0, instead of haveing to change the sheet name of A8 and everyone after that page. Some of the most useful features of the template that are already using are:
I'm interested in your thoughts?
Revit Template OutlinksCreating a Revit Template Building a Revit Template Setting Up Revit Templates Youtube: Exploring the Revit Architecture project templates Revit Template Tutorial Start to Finish (Part 1)
Lastly, please if you enjoyed this post:
Please LIKE / TWEET on Facebook or Twitter! and leave a comment below and let us know what you think! |
 RSS Feed